

I saw the idea on Crafting Mom (she has a great tutorial) and decided to add to my pumpkin collection. I have no problem cutting up books - ones I don't want to read and are headed for the landfill anyway.
Here's how to transform a book into a fun fall pumpkin decoration:
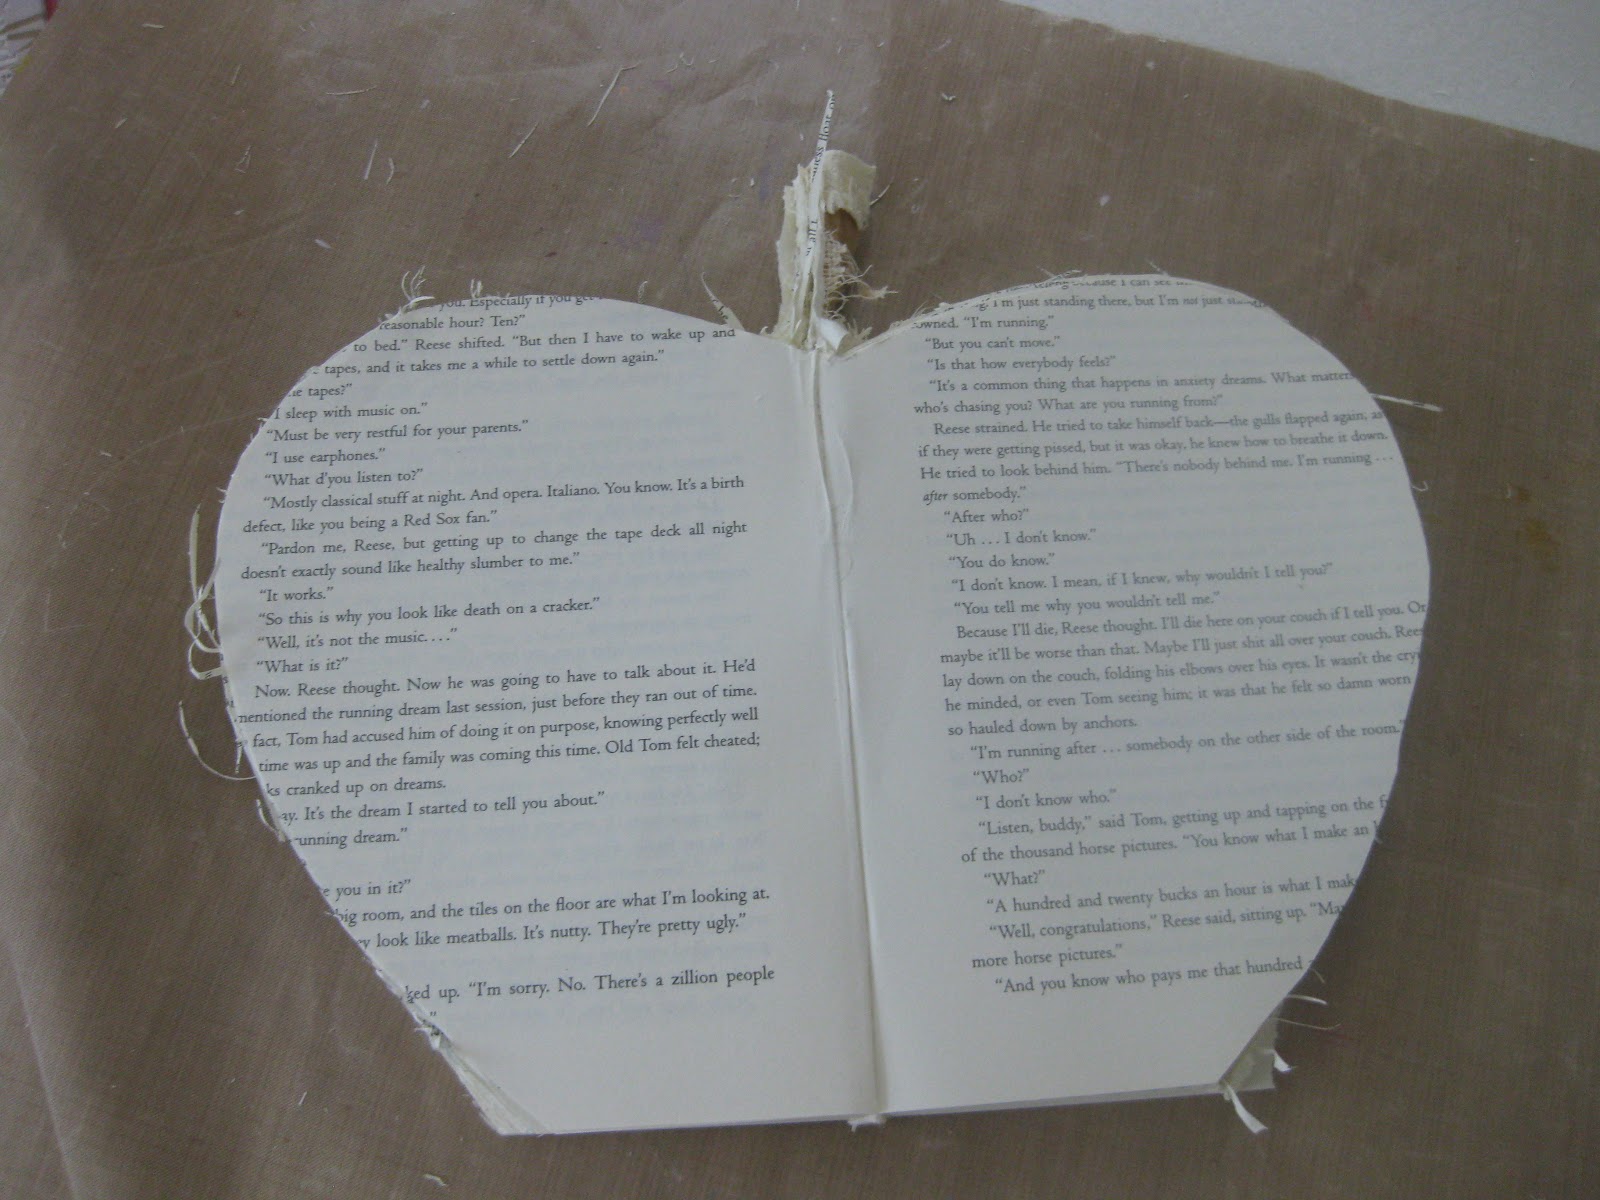
Start by making a template of a pumpkin shape. Keep the bottom flat so the pumpkin won't be wobbly. Then, if using a hardcover book, carefully cut off the covers. Open up the book in the middle and using a craft knife, cut around the template. You can only cut through a few pages at a time - leave the top of the spine as pictured (more on that later). Once you finish one half, flip the template and do the second half.

Here's the book, all cut out. Trim off as much of the stray bits as you can, but don't get too crazy about some added texture! Now check out that piece of spine left at the top - I think this will work as a stem!
Once you've cut all the pages, you're ready to add some color. CM has a couple of options - ink the edges with an ink pad or plunge the edges of the book into a bowl of diluted acrylic paint. Warning - CM says this method is very slow to dry! I wanted more color than just inking the edges, so I used Distress Ink to add more color on the pages. Let me tell you - this method is very time-consuming! I caught up on this season's Law & Order UK and was only about a quarter through! OK, change of plans - went to direct-to-paper with a cheapo orange ink pad - quicker, plus better coverage.

Once all the pages are colored, hot glue the spine and hold together for a couple of minutes to set the glue.
I bent the top spine before it had hardened to give it a stem shape, then painted with some brown, green and tan acrylic paints. It's rough, which I think makes it look more realistic. Now for the tendrils - twist some brown (or dark green) wire around a pencil, then wrap around the base of the spine.


Now start opening up your pumpkin book, gently pushing into the spine to separate the pages. Keep working it until the book is open and fluffy.
Behold the book transformed!

If you're intrigued by using books in your art, check out this book:

The Captain gave it to me last year and I've been drooling over the fantastic creations ever since. Books are used to make everything from jewelry to sculptures . You'll be looking at your stack of books with new eyes!


This is SO COOL! Love it! Well worth the effort since you can use it for years to come!
ReplyDelete@Femme Curieuse
ReplyDeletethanks! A more reasonable person would have started with a smaller book, but restraint is so hard for me- ha!
Absolutely cool -- your new pumpkin turned out great!
ReplyDeletePS: Good luck with the kitchen renovation. And, yes, it's definitely art on a large scale.
@Birgit
ReplyDeleteThanks, Birgit!
I'm on to painting stairs!!