Friday, August 25, 2017

2017 Journal

(I love this quote.  I cut it out of a book and forgot to note the author.)


Last year I used The Year of the Doodle as an art journal/planner and loved it.  This year I'm using this notebook from invite.L  .   I think it was less than $10.00, but it looks like it may be a discontinued item - too bad!  I think it was marketed as a notebook for note takers, but I couldn't pass up on the grids.


 I do plan to do something with the ink-smudged cover!


I love the grid layout  with the various sections - horizontal, vertical and small squares.   The pages are thin and won't take any amount of liquid medium.   I could have glued pages together to make them more substantial, but I needed all of them to make it through the year with a few extras for re-do in the event of serious bloopers.  So I didn't use anything water-based - only glue tape runners and pens and colored pencils.   See how flat is opens - another plus.

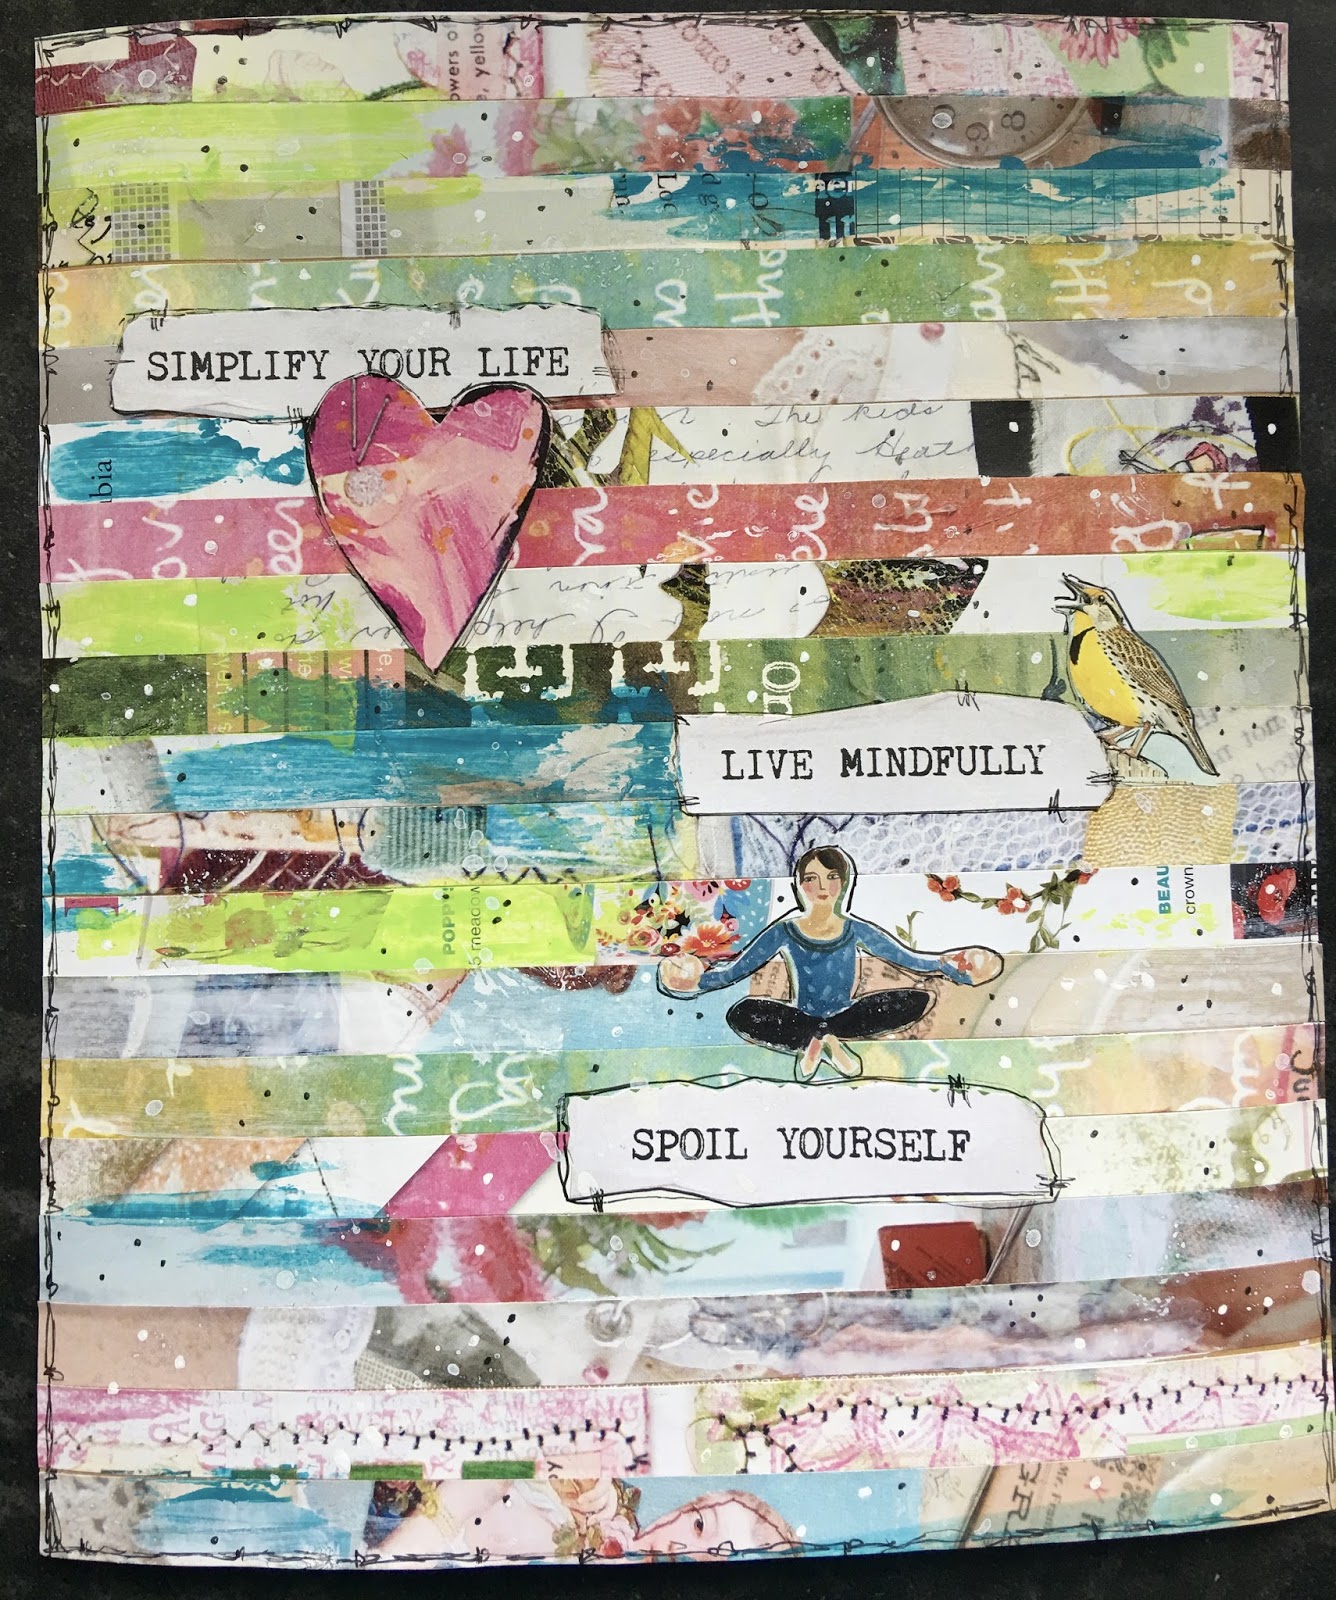
I'm using this as more of a mini-journal and to keep quotes that appeal to me, and  to use up some bits and pieces of stuff from my stash.  I'm also doing more doodling in this book - the small size isn't so intimidating!


There isn't any real plan going on here- sometimes I try for a color-coordinated theme, but mostly I just do what appeals to me in the moment.  As you can see,  each day has just a small space - another challenge.


Because the pages are so thin, some pens and stamped images will bleed through, so when I wanted a stamped image, I stamped on a scrap of paper and glued that on the page.


Sometimes I got lucky and both the left and right pages come out reasonable well!  


One thing I don't do is that no-holds barred journaling about personal stuff.  I wouldn't  feel comfortable having anyone else reading it.  Maybe because now and then I'm channeling this woman!
On the rare occasions I feel the need to dump it all somewhere, I camouflage it so no one can read it - like the blue-dot day below.


I love my little book with its chronicle of what Ive been doing.   Not every section or page is a masterpiece, but like life, I just turn the page, and there's a new blank page with the  opportunity to try again.

Thursday, August 3, 2017

Boothby's Orchard Get-away


Well,  it's been a long time since blabbing here.   Lots going on at the home front - some good, some nuts, and all exceeding the limits of my medication.   The Captain is justifiably concerned about how close I am to going down the rabbit hole, so decided we needed to get away.   He joined Harvest Hosts- a network of wineries, farms, and attraction that invite people with self-contained RVs to visit and stay overnight.   The yearly membership is only $40, and there are participating hosts all over the country as seen in this map:


The rules for guests are simple and just common sense like - only self-contained RVs ( code for "Bring your own bathroom")  , stay only one night, treat the site with respect,  ask before assuming fires/barbecue grills, etc.  are OK,  and if possible,  buy something as a token of your thanks .

We stayed at Boothby's Orchard and Winery in  Livermore, Maine. Not only was this our first overnight in our RV,  we were also the Orchard's first Harvest Host visitors.   YIKES - we wanted to be sure to give a good impression of HH members.  The owners, Rob and Denise, couldn't have been more helpful.   Rob gave us a golf-cart tour of the property and showed us several site options.   He and Denise were so friendly and welcoming - offering us firewood and even told us to call them if we needed anything.   They clearly are proud of their lovely farm and are serious about the  responsibility of caring for land that has been in the family since 1856.

In addition to the apple orchard, they also grow grapes and operate a winery, making both apple and grape wines.   Add several cows,  haying,  a pumpkin patch , lots of corn, and a farm stand - these folks are busy!   They also have a lovely setting for barn weddings and a B&B.

All of the sites were great, but we selected one over-looking a pond and near a log cabin Rob built .


We were a bit too early for apple season, but did enjoy some great apple wine!


Our Wee Beastie settled in nicely.


The view from our bed:


We were invited to wander around the farm and were impressed with the care and work Rob and Denise have put into their property.   So pretty and so well-kept.


 Take a peek at their Facebook page,  and if you get to Maine, check out Boothby's.

Thank you, Rob and Denise,  for being such delightful hosts.

Friday, May 19, 2017

Mixed Media Art - Urban Flair

Things have taken a decidedly complicated turn here:


Surgery on my foot with limited mobility means I have to get creative to be creative.  My craft supplies are upstairs, and climbing them is a bit tricky, so I'm limited to what I can carry on my one trip per day!  Of course The Captain is willing to get things for me, but don't want or need to haul too much downstairs.


I saw this video from one of my Facebook groups - Mixed Media Morsels by Cat Hand called Urban Flair.  It's a perfect couch project - cutting up magazine pages, then gluing them down.

I decided to use the magazines I had in front of me - Flow and Stampington- not too shabby!   I looked for pages with pink, green, and a bit of blue, so my take is less urban, more shabby chic.  Here are my pages:


And here they are, cut into strips.  I cut them 1/2 wide, but it would also work wider, narrower and even varied widths.


I used a firm card stock from a Flow magazine as a base, then glued down strips using a glue stick.


Once all the strips were glued down, I added a few images cut out of my magazines.


Then I swiped on some acrylic paints - using these Dina Wakley paints and an old store card.


(A blurry view of paint-swiping).


Here is the finished page, but I thought it needed something else - splatters and a squiggly border, of course !


This was a fun, easy journal page.  Thanks for the inspiration, Cat Hand!

Monday, April 24, 2017

Wooden Stamp Storage - Banish the Block


We're downsizing and my massive stamp collection takes up lots of room.  Don't get me wrong,  I love my wood mounted stamps, but it's either find a way to store them so they take up less real estate or get rid of them.  Option 2 is crazy-talk.

The solution came in one of my Facebook art groups,  Maremi's Creative Cafe,  posted by Suzy Jenkins.  She nukes the stamps to peel them off their wooden base.  I've tried prying stamps off before without heating and got chunks of foam left behind.  The heating makes  the whole shebang lift off nicely.

I selected big background stamps as having the most space-saving potential.  Plus, having these stamps unmounted makes them easier to use in backgrounds.  I rarely use these as whole stamps, and it's a bear to stamp just parts when the stamp is on a block.

Here are the fancy tools I used:


Nuke the stamp on full-power for one minute.  Carefully remove with pot-holder - the wood block gets mighty hot,  be careful.  I found it easier and safer to put the stamp, face up, on a plate and put the plate in the microwave.  It's easier to lift the plate out than the hot stamp.

Once the stamp was heated, I slid an old butterknife under between the wood and the foam backing.  The stamps all peeled off easily and none were damaged in the process.

I wanted some way to identify my unmounted stamps.  Some of the wooden blocks had that plastic coating with the image printed on it.   I tried lifting it off the wooden block and sticking it to the foam backing, but found it was really easier to stamp the image on some transparencies from my stash.  I stamped them with StazOn, then cut out and stuck it on the back of the stamp.  The foam stays sticky, so no problem adhering the transparency or the original label.  You could use the plastic from unmounted sheets or packaging - you'll want something to cover up the sticky back.


Now here's the pay-off.  Before, with my can for size comparison:


 After:


 Cooking stamps in the microwave - who knew?  Planning on cooking lots more,  Thanks, Suzy !


Normal Title Italic

Follow Me on Pinterest

LinkWithin

Related Posts Plugin for WordPress, Blogger...
 
SITE DESIGN BY DESIGNER BLOGS