
The first problem with this project was The Captain. He gets all weirded out by the path of disaster that comes with any home-improvement project. I knew that if I brought up ripping up the carpeting and painting the stairway he would have gone to the crazy place. He loves the end result, but not the ripped up, everything is out of place, paint and tools strewn all over part. Kids and friends were in on my plan, but sworn to secrecy. My plan was to get to the point of no return - carpeting ripped out- before he got home from work. I believe in the saying "It's better to beg for forgiveness than to ask for permission"!
So here are the stairs in all their dingy glory:

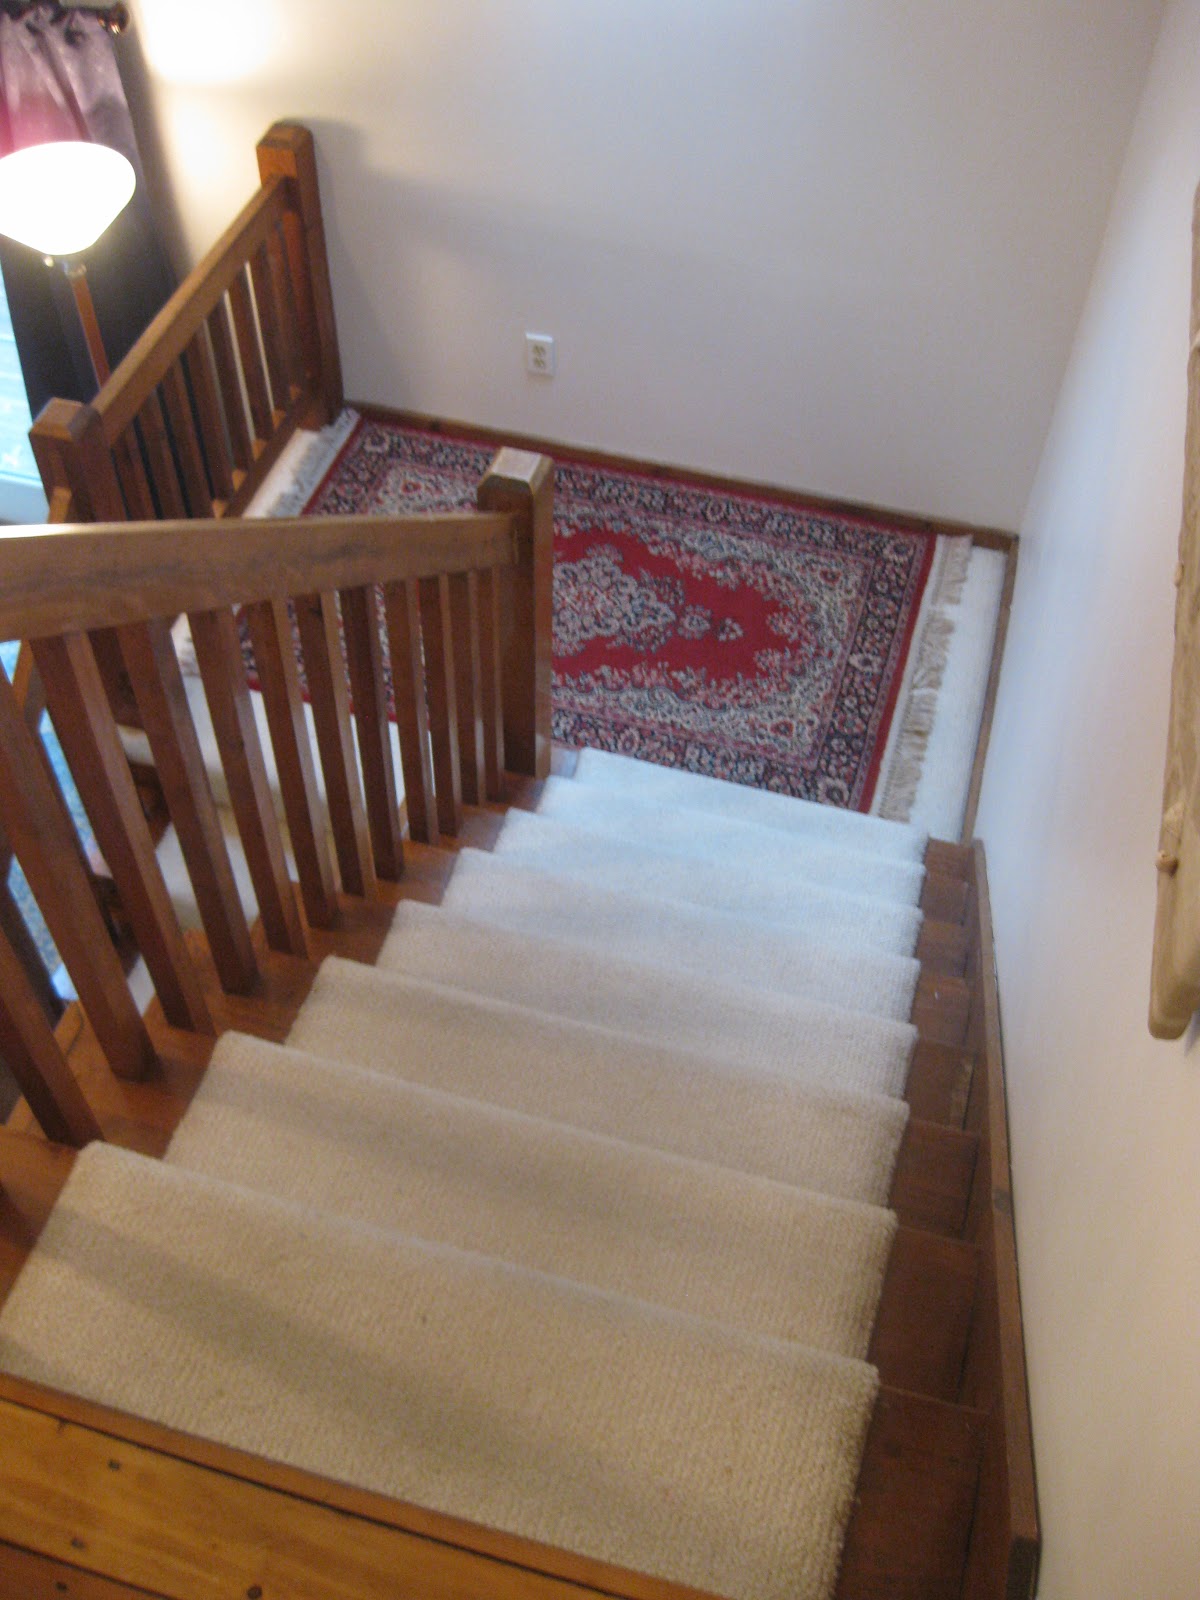

I have a few stairs, then a landing, then the full flight up to the second floor, plus the railing that goes all along the upstairs hall. Because the stairs aren't completely carpeted, I knew the treads were in pretty good shape (although dinged up and covered with multiple coats of heavy varnish). What I didn't know was what was under the carpeted landing - finished floor boards or trash? As you can see, the stair way it totally open to the living areas - both up and down, guaranteeing a major dust bowl once the sanding began.
Off to the Google for researching other DIY stair projects. Wow, there are some seriously talented women doing great stair renovations and blogging about it. Check out Thrifty Decor Chick for great details about her stair reno. Look at the amazing job done at Southern Hospitality - she ripped up carpeting and found rough-cut wood stairs, all kinds of gaposis issues and ended up with a stairway that will knock your socks off! I decided that if she could do this fantastic reno, I should be able to paint my stairs! These blogs have lots of practical info so I had a pretty good idea of what I needed to do:
- Rip up old carpet and all the nails and staples that held it down
- Sand varnished stairs enough so they would take some paint
- Fill any holes in the wood (after removing carpeting, turns out there are LOTS of holes)
- Prime
- Paint
- Install new runner
Step 1 - Removing the old runner
I started pulling up the carpeting on the first stair, made easier because I had previously pulled up the white carpeting from the dining room (don't get me started about white carpeting in the DINING room!). This is just brute force work, pulling the runner free of all the nails and staples - actually went pretty quickly. I suggest wearing leather gloves as those little nails are very sharp! As the piece of runner became too large to handle, I used a carpet knife to cut it loose. (Another benefit to this was that The Captain could hardly ask me to put it back)!
Here are the lower stairs, sans runner:

Now to remove all the nails and staples! I used a pry bar to get behind the wooden strips (full of nails) and pry them away from the treads and risers, trying not to gouge the wood as I removed them. Then I pulled out all the staples - I found prying them up with a small screwdriver and then pulling them out with vise grips worked pretty well. As with all projects involving the potential for flying projectiles, I wore glasses!

Repeat for landing and top stairs!
So far, so good -- treads and risers look good, carpeting off without too much trouble, and wonder of wonders, landing boards are finished pine, perfect for painting!

Stay tuned for next steps.


This comment has been removed by a blog administrator.
ReplyDeleteThis comment has been removed by a blog administrator.
ReplyDeleteThis comment has been removed by a blog administrator.
ReplyDeleteThis comment has been removed by a blog administrator.
ReplyDelete