We have the ugliest light ever (at least I think it's the ULE) in our downstairs bathroom. Builder-grade Hollywood style - lots of original thought and expense went into this selection. I forgot to take a before shot of my light, but here is a similar one. Purdy, isn't it?
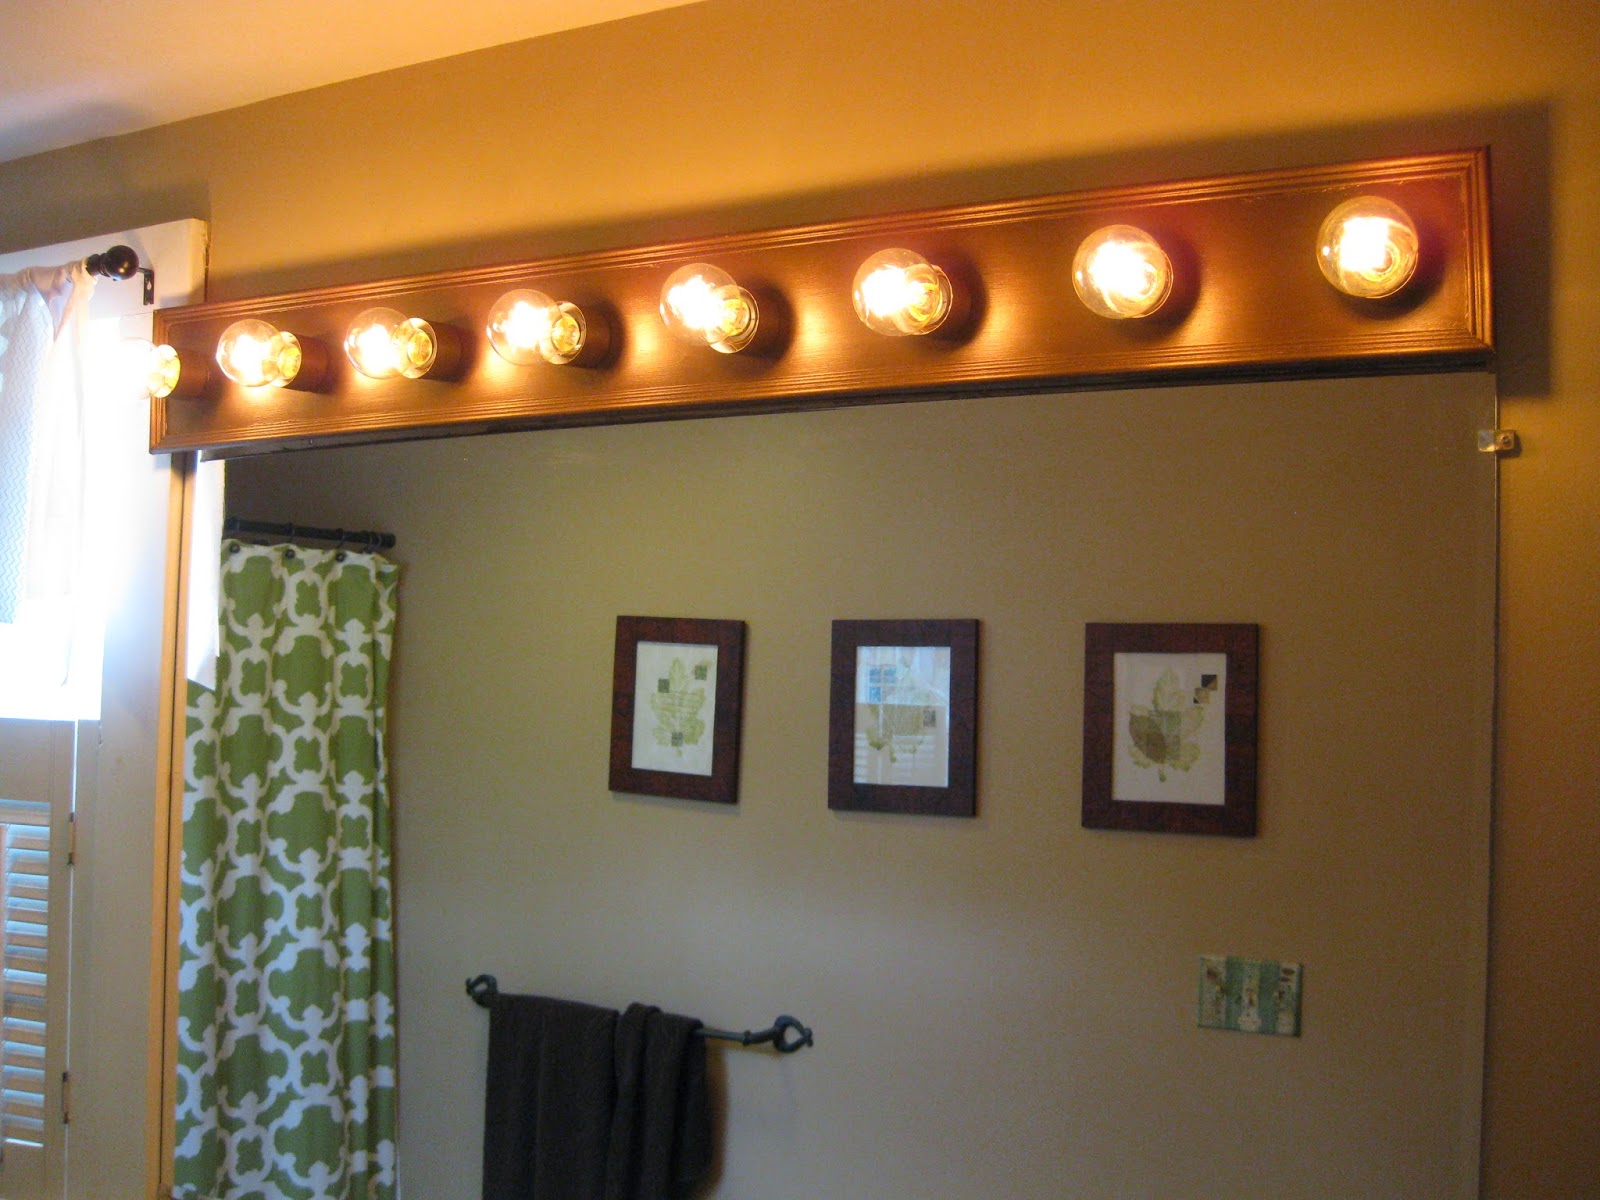
For starters, I sanded the light and rings. Then to class it up a bit, I boxed in the base by hot-gluing thin moulding strips to the base. I even managed to cut a piece myself with my handy-dandy $6.00 mitre box .
I primed it with Kilz primer to make sure the paint would adhere well to the metal base. I painted it with Martha Stewart Cast Bronze metallic paint.
Now for bulbs - I want something more interesting that the usual bulbs. I saw some on Pinterest with those lovely amber vintage bulbs, but since that much vintage wouldn't work in my room, I went with these:
The clear bulbs still have the cool filament that glows when lit. These are some pricey bulbs at nearly $9.00 a pop. The man at the customer service desk at Home Depot gave me a 10% discount ( love my Home Depot guys), and since this was a nearly no-cost upgrade, I splurged .
Here is my new light fixture, builder-grade metal backing, rusty spots, and mis-matched bulbs vanished.
No more bathroom light hate. I love this new look.
And don't you wonder how we managed in LBP (Life Before Pinterest)?


No comments:
Post a Comment