Showing posts with label journal. Show all posts

Friday, May 19, 2017

Mixed Media Art - Urban Flair

Things have taken a decidedly complicated turn here:


Surgery on my foot with limited mobility means I have to get creative to be creative.  My craft supplies are upstairs, and climbing them is a bit tricky, so I'm limited to what I can carry on my one trip per day!  Of course The Captain is willing to get things for me, but don't want or need to haul too much downstairs.


I saw this video from one of my Facebook groups - Mixed Media Morsels by Cat Hand called Urban Flair.  It's a perfect couch project - cutting up magazine pages, then gluing them down.

I decided to use the magazines I had in front of me - Flow and Stampington- not too shabby!   I looked for pages with pink, green, and a bit of blue, so my take is less urban, more shabby chic.  Here are my pages:


And here they are, cut into strips.  I cut them 1/2 wide, but it would also work wider, narrower and even varied widths.


I used a firm card stock from a Flow magazine as a base, then glued down strips using a glue stick.


Once all the strips were glued down, I added a few images cut out of my magazines.


Then I swiped on some acrylic paints - using these Dina Wakley paints and an old store card.


(A blurry view of paint-swiping).


Here is the finished page, but I thought it needed something else - splatters and a squiggly border, of course !


This was a fun, easy journal page.  Thanks for the inspiration, Cat Hand!

Saturday, February 25, 2017

I Finally Made a Junk Journal!


My desire to remain sane is in conflict with my desire to remain informed,  so I have adopted a new strategy - more art videos, less TV news.   To that end, I've been watching videos about making junk journals.   This one by Jolanda a.k.a. Jopke finally pushed me to try making one.  If you haven't checked out her videos, you must- she does such beautiful work.

Junk journals are journals made with stuff you have in your stash - bits of paper, ephemera, envelopes, tags - whatever.   The journal can be used for journaling, as smash books , for grocery/to-do lists - whatever.  

Time to dive in and try my hand at making one.   This isn't a step-by-step tutorial , just some of the things I did to make mine.

Lots of the videos I watched started out with using chipboard boxes for the cover  - like cereal boxes.   The beauty of using a box  is that the spine is already there.  I used a brownie mix box


I rarely do any precise measuring and this project was no different.  I just hacked the box down to the approximate size I wanted.   I did fold in the edges to make them more rigid, although I've seen plenty of videos that don't do this.  I also reinforced the spine with a piece from one of those return postcards that fall out of every magazine.  I glued everything down with Aileen's Tacky Glue and held it down with bulldog clips until dry.


Next, covering the cover - I used a paper placemat.


Folded in the edges and glued it down with gel medium.


 I forgot to take a picture, but glued some paper on the inside of the cover to hide the raw edges as you can see in the finished book.

Now, for the pages.   I went through my stash to find things that would work.  I wanted to use a variety of papers- scrapbook, text, craft, music ,  so there is no real theme going on!

I did measure here to make sure the pages would fit inside the cover.  I made one as a template and cut out the rest.   You can go shorter/ thinner than the cover, but not bigger unless you want the pages hanging outside.

Once the pages were assembled, I punched out three holes in each, using the template shown below.

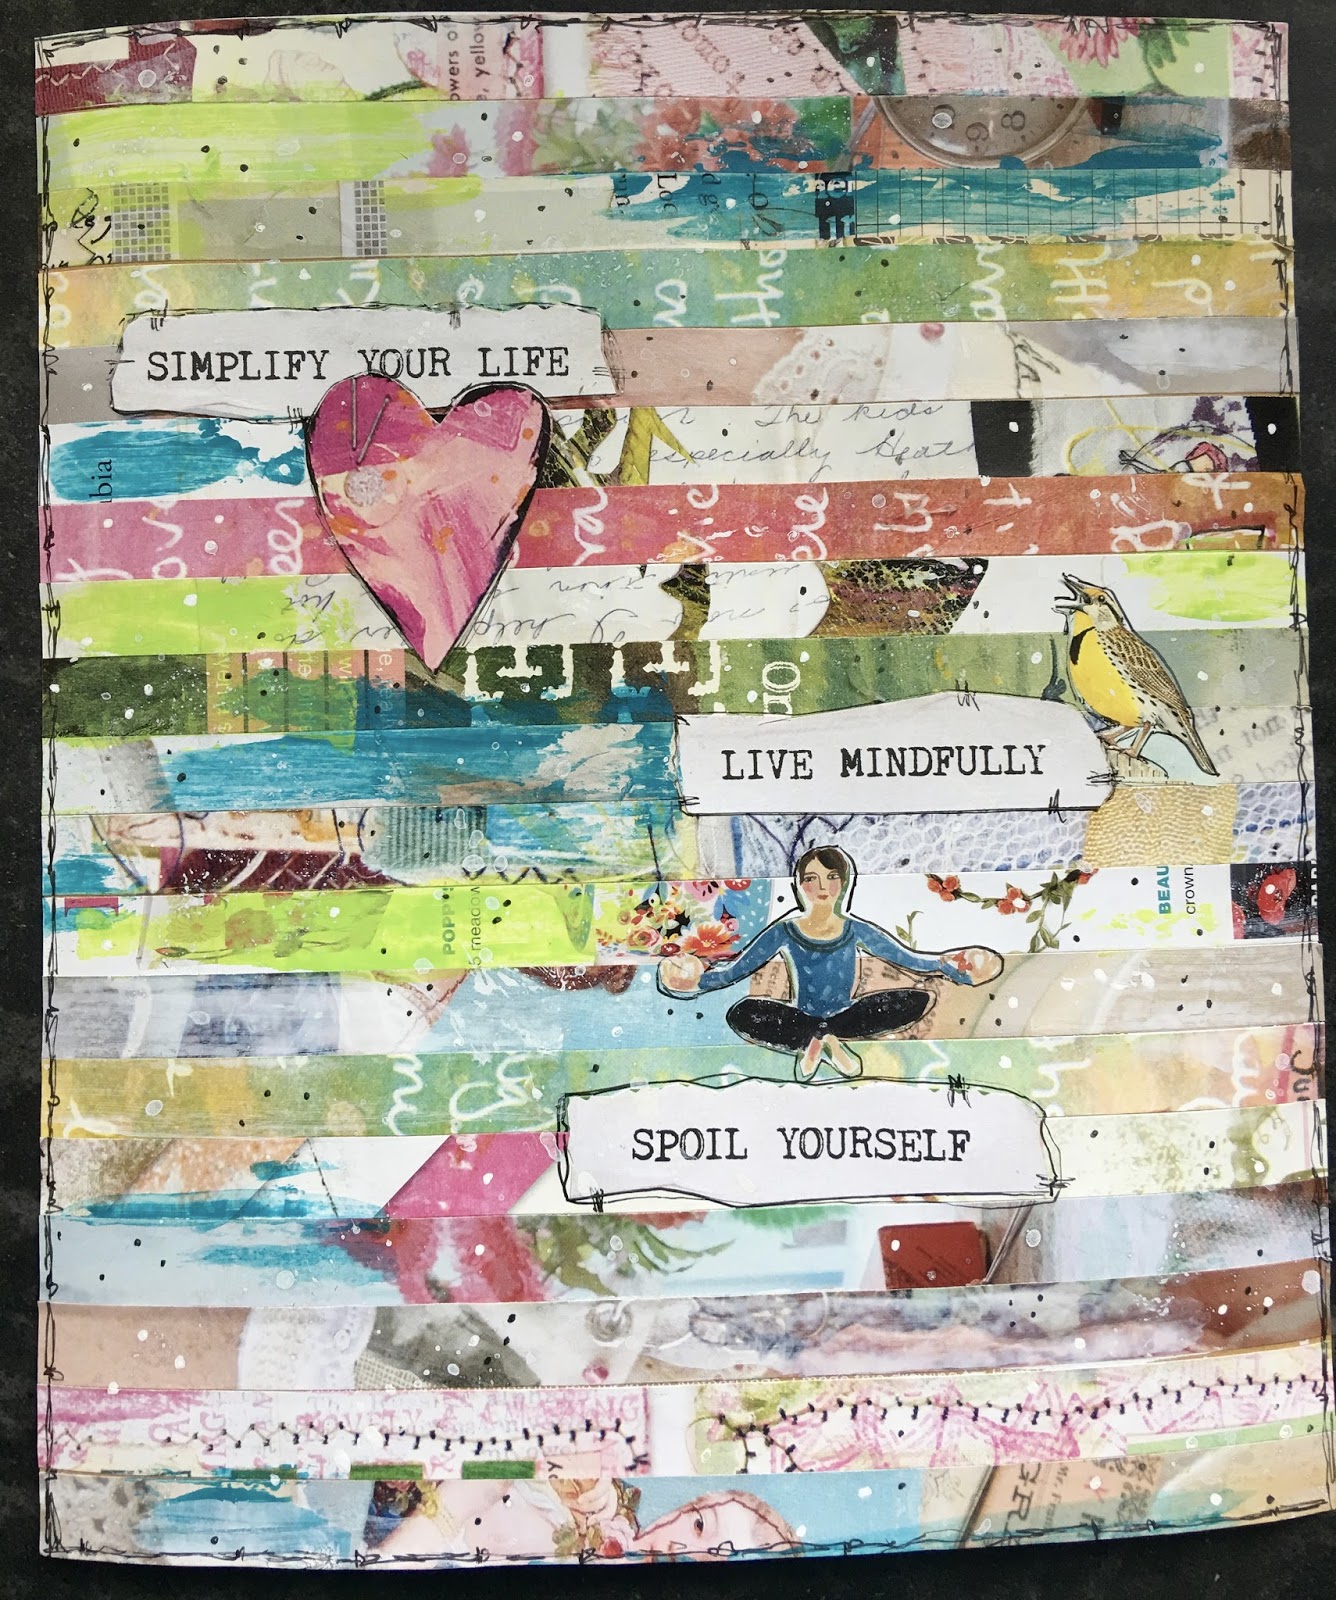
Here are a few pages (already sewn in):


Gelli prints and under paper


Some stenciling and stamping.


This was fun - a little pamphlet (on the right) from one of my Flow magazines got chopped up, glued, and made its way in !


I made 3 groups of pages (signatures) with 8 pages in each signature.  

Then came the scary part - sewing the signatures into the spine.   I used a simple 3 - hole pamphlet stitch method.  There are lots of great how-to videos- my favorite is Johanna Clough's.   Really, this hardly qualifies as sewing - in one hole, out the other - yet oddly terrifying !   Once I started, it was really easy .  


This is what I used - a Martha Stewart punch, pearle  cotton run over beeswax and a large blunt needle.  I made a template (thanks for the tip, Jopke) of where I wanted the holes on the spine and on the pages.  Three signatures, three rows of holes.    Again, I just eyeballed the placement, but did use a ruler to make sure the holes were more or less lined up.  Check out the how-to videos I've linked for details.


Not gonna lie, I did a happy dance when I saw this !


Signatures actually sewn in and didn't fall out - yippee !  I felt like Sally Field, "I made a book!  I really made a book!"


I finished my journal with a closure - punched a hole with my Crop-a- Dile (thank you, Shiela) and added a white rivet and green ribbon.


 I'm pretty happy with my first attempt.   Some lessons learned:

*  A few of my pages were really thin paper , so the holes tore a bit as I sewed them in.

*  I think my punch was too big, so next time will try an awl.

*  Keep track of top / bottom - I sewed one signature in upside down !

*  Not sure the beeswax was necessary.

A new obsession is born - I see every box as a potential book cover.    Now, about that brownie mix....

Wednesday, April 27, 2016

More Year of the Doodle Art Play


I'm still loving my Year of the Doodle planner/art journal.    I love the small size for each day, the beginning backgrounds, and the prompts.  Well, most of the prompts- sometimes I ignore them and do my own thing.


I turned the splotches of color into  little  birds, adding a few more with watercolor pencils so I'd have a whole flock.


I continue playing with doodling.   I'm reading Danny Gregory's The Creative License and appeciating his reminder to draw what you see, not what you think you see.    It is interesting that when you really look at something, it is often not quite the way you see it in your mind .

It's no secret that I love Vivian Swift's art and blog.  In a recent post she explained how she paints teacups, making the tea in the cup lighter at the far rim  as that's the way it is when you look at it.  Sure enough - again, what you think it is isn't always how it really it.   I'm trying to really look at things as I try to draw and , who knew, it makes my drawing more realistic.


The picture on the right started out as the watercolored squares - so fun to turn them into faces!


As if this book isn't fun enough, our Montana grand  loves working in hers.  I love anything that helps me stay connected to this far-away sweetie.


Wednesday, February 10, 2016

Year of the Doodle Update


I'm still loving this book.   Each day has a prompt or some starting artwork.  I usually follow the prompts, but sometimes go off on my own.  I added in some receipts to the day's trip to Boston to my whimsical flowers.


I cheated here - these faces were in a recent Somerset magazine.  I added some color and details  and this quote that worked with borrowed art.


I'm also following the DLP 2016 Unplanner group, but using this book as my planner.  Feb 1st DLP challenge was to let someone make a mark in your planner.   Since I am not really good at following directions, I used this page from an old French language text, so technically someone else did make these marks.  Don't you just love that handwriting?  A swipe of Gelato added some color.  I like using Gellatos in my journals because they don't add much moisture, so no buckling.  I just swipe on the color and spread it with a baby wipe.


The idea of the book is to practice doodling.   I've expanded that to include  lettering practice.  I do try to do some doodling, too.


Sometimes I use stamps, like this Tim Holtz coffee mug.

I spend lots of time in this book - I often go back in and add some doodling or color, and to be honest, sometimes have to cover up a disaster and start all over.   This is easily the best art book I've bought in a long time!

Sunday, January 24, 2016

Year of the Doodle Planner

{Doodled flowers on text page with dots - January 8th}

Yikes -  three weeks into January and I was still waffling about what planner to use.   I had high hopes for the 2016 Documented Life Project.   This year the planner to use is a 3-ring binder and downloads with prompts.  Since I had already made pages for a binder, I thought I was good to go, but a couple of weeks in I realized I was in trouble.   First, I'm not much of a rule-follower and decided not to use the downloads, the prompts, or really much of anything.   Second, the binder is too big to carry in my bag.  And then I realized I was really making an art journal - taking way too long with my pages to realistically expect to use the binder as a planner.

Here are the first two weeks' pages - I 'm happy with how they turned out , but they really aren't planner material.  Somehow adding , "call plumber" or " clean garage" didn't enhance the designs!  I painted over the day numbers and declared this an art journal instead.   I'll be following the DLP Unplanner Project to pick up tips, but the format isn't working, so on to Plan B.


 I love this lady, inspired by Shirlee McGuire's art pieces featured in the November/December issue of Cloth Paper Scissors.   She adds embroidery, buttons and bits of fabric to her pieces - check out her lovely work on her blog.  I cheated and stamped my lady's bouquet.                        .

This one was fun.  I made this page of sewn paper strips for another project


 and couldn't bear to throw away the excess cut off the edges.   When I laid the strips on the pages I saw houses!


Fun pages, but no way could I keep up if I continued to make pages that took days to complete.  I present Plan B,


I bought this book by Dawn DeVries Sokol as a Christmas present to myself.   It's a year-long exercise in doodling, with prompts, some doodling or art work already started for every day.   The size is perfect for take-along, about six by seven inches.  The day sections are small, so working out a doodle or small art work is quick and easy.  Voila, my new planner.   Pretty sure Ms deVries Sokol  would approve.


 I started by covering the book with some handmade wrapping paper from World Market.  I had an Erin Condren journal elastic that works well with the paper .  I like a closure on my planner so it stays closed in my bag.


Then I altered the title page and table of contents to work as a planner.  


 and folded a page to make a pocket inside the front cover for phone numbers, extra washi tape, stamps or whatever.

Here are a few completed pages:


One of my goals for this year's planner is to go outside my comfort zone and put pen to paper more often - documenting what's going on and making some sketches or doodles to go with the text.   I've blabbed about my non-existent drawing skills, but finally realizing that while I'll never make a living sketching, it apparently is possible for me to occasionally make something recognizable.  Who knew?

I also need to work on lettering - so many skills to improve!


Coffee mug, whimsical flowers and cupcakes - this is fun!


And some yet to be fiddled with:


Aren't they fun!


I am loving this format - small spaces already jump-started and the challenge to make some marks.  This is so much less stressful than the big two-page spread.   Thank you, Ms de Vries Sokul!


Normal Title Italic

Follow Me on Pinterest

LinkWithin

Related Posts Plugin for WordPress, Blogger...
 
SITE DESIGN BY DESIGNER BLOGS