Thursday, January 24, 2013

Ribbon Storage, Thanks to Lost


We changed our cable package and now get a zillion more channels, so I'm catching up on series that are new to me.  Like Lost.  Even though it keeps getting weirder and weirder, I can't stop watching.  In order to justify some of that Lost time (sorry, I couldn't help myself),  I'm finding projects I can do while watching.

Enter my ribbon problem.  I have two boxes full of ribbons and various fibers, and it takes me forever to find what I want in all the mess.  I should have taken a "before" picture, but you can imagine - two boxed overflowing with tangled  ribbons, ends sticking out everywhere.

I started out by sorting through stuff and decluttering - a fancy word for throwing out stuff you didn't need in the first place. Then I wound the ribbons around Formica tag samples and took other ribbons off large paper spools that just take up too much room.

I didn't know what I was going to use to hold all the ribbons.  Then I remembered an artist case I bought at a tag sale.  Basic, boring - hardware already removed.


I covered the box with some handmade paper from World Market (thanks to Montana Daughter).


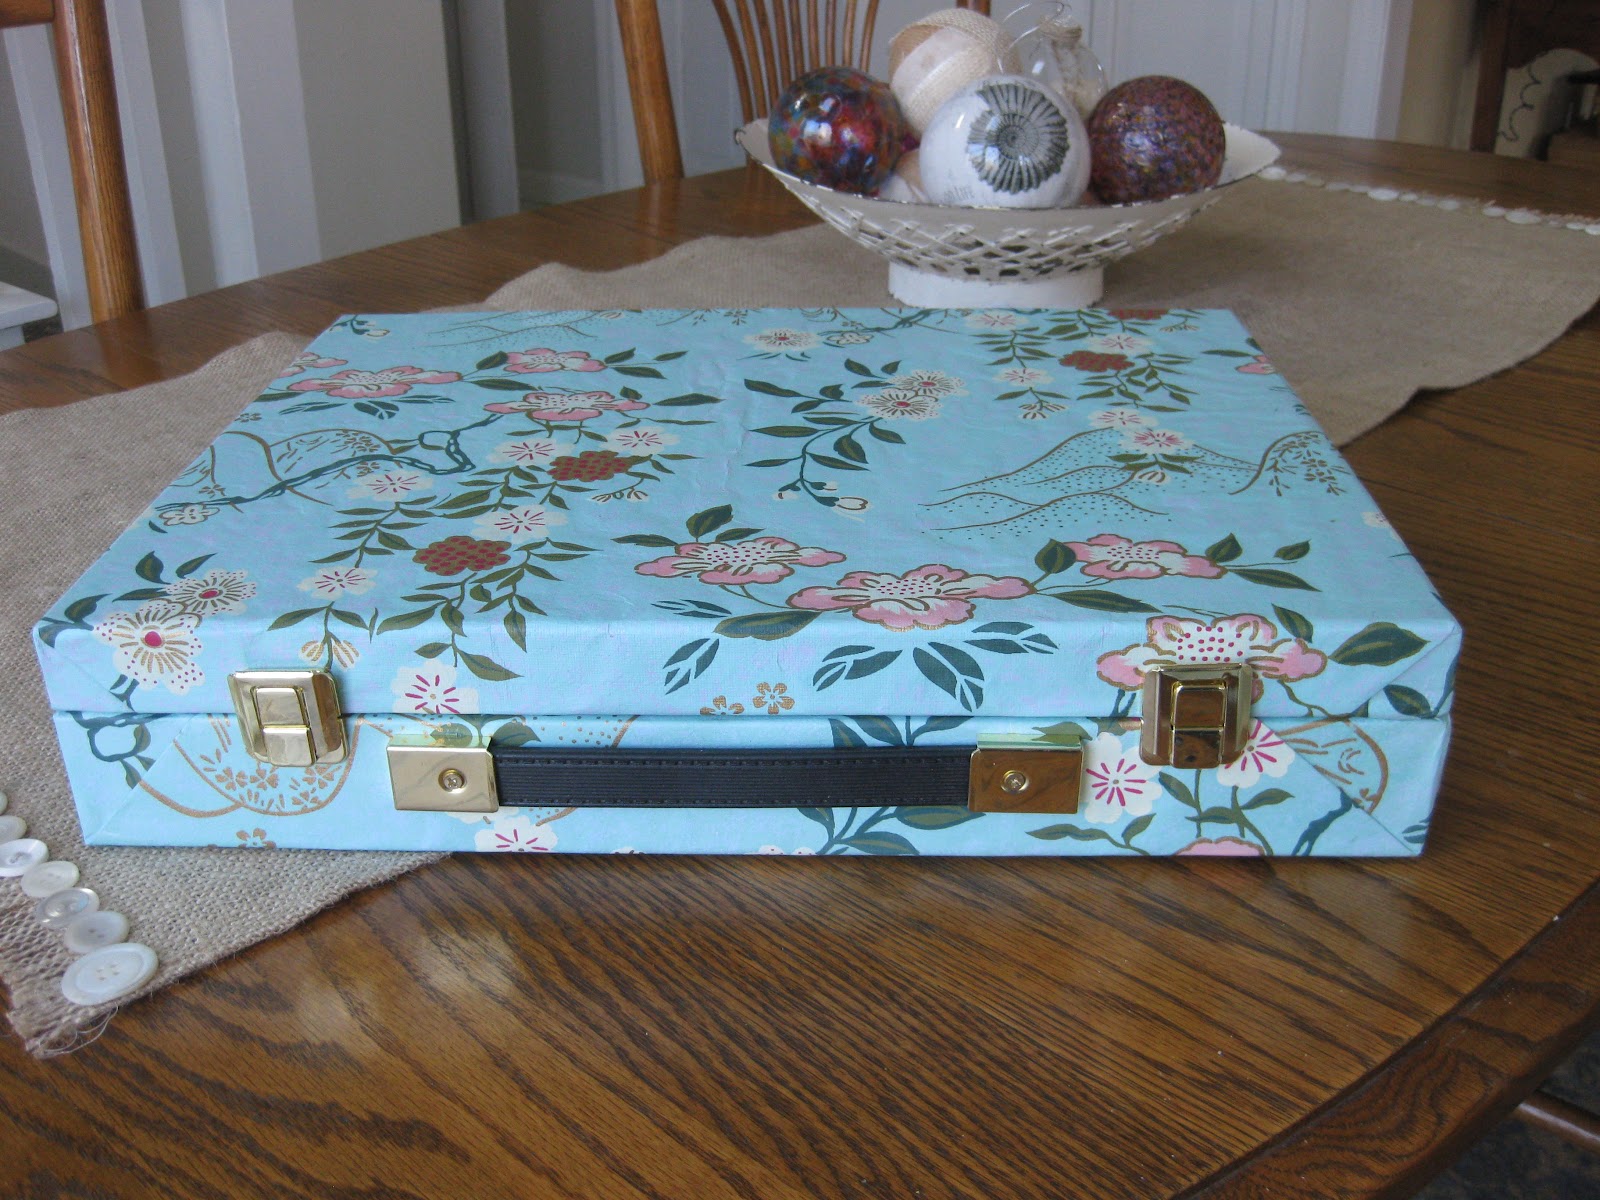
The hardest part was putting all the hardware back !


The Formica tags fit pretty well in one of the compartments and the others hold rolled ribbons and assorted fibers.


Now to find another project so I don't feel totally guilty indulging in marathon TV watching.  It can't be too complicated, though.  There are so many twisting plots and flash-backs on  Lost that I  need to pay attention.  I do  have a few observations for the next marooned- on- a- remote- island series:  everyone (especially the chubby guy) should be getting thinner, since their diet is mainly fruit,  with the occasional gorge on wild boar or processed foods found in underground bunkers, and the women's eyebrows should be getting pretty ratty by season three.  Just sayin'.


Tuesday, January 22, 2013

Chair Reupholstery DIY


A few summers ago, Boston Daughter and I found this little chair on the side of the road, free for the taking.


We had to haul it home in the back of our tiny car, tied down with a pair of capri pants !
 

I had big plans to recover it, but after removing hundreds of staples

 
and the worn denim fabric

 
the chair has been sitting in our bedroom, mocking me every time I see it:  "What were you thinking?  You don't know the first thing about upholstery"! 
 
One of my New Year resolutions is to finish some of the projects around here.   Time to address the bare naked chair.   I don't know anything about upholstery, but I figured whatever I could do would be way better than the exposed stuffing look.
 
I started by painting the wood an off-white and added some distressing. 
 
Then on to the scary part.  I saved the fabric pieces I had removed and used them as a pattern for the chair back and arms.  I just stapled the pieces onto the frame  and then hot glued on the trim to cover the staples..  I made a new seat from a pillow form - a bit fluffy, but I didn't want to recreate the formed box seat. 
 
The back was a bit of a challenge.  I wanted to just slide one piece of fabric down the back, but that wouldn't work, so I cut individual pieces and used my trusty bone folder to jam them into the spaces between the wooden trim.
 
I'm pretty happy with the results:


I love my new chair with its faux upholstery re-do. 

Saturday, January 19, 2013

Thrifted Goodies

{source}
 
.
 
I haven't shared thrifted goodies in awhile.  What with Christmas and company, not much serious thrifting going on.  Then last week I hit the jackpot with this Kate Spade bag:


Pristine interior
 
Flipped picture can't hide the $8.99 price tag, but wait, it was 50% off day, so my bag cost $4.50.  This is why thrift store shopping is so addictive.
 
The price on this bag is an example of the wildly inconsistent pricing at thrift stores.  There were  handbags of "100%  man-made materials" - a fancy way to say plastic-  for three times as much as my Kate Spade bag.  Same thing for all categories - it seems that the pricing is up to the whim of the individual doing the pricing.  Some things are wildly overpriced, as in the Gap sweater that was $25.00 at The Goodwill.  I saw the same sweater on clearance at a Gap store for $19.99.  And then there's my bag and my set of silverware for $2.99.  Go figure.
 
Some more sweet finds:


Tianello shirt that retails for $110.  I had to pay full price - $6.99 for this fitted tencel beauty.
 
And a few finds for Montana granddaughter:


A brandie new Lands' End sweater, an embroidered jacket and a fun twirly skirt.


Two summer dresses - an April Cornell and a Hartstrings.
 
Now, about thrift store unpderpants - who buys them?  Even I draw the line at used underpants!  Seems weird that there's a law prohibiting the sale of used mattresses, but previously-worn unders are OK.

Sunday, January 13, 2013

How to Turn a Book into an iPad Cover


I've been wanting a new cover for my iPad .  The one  I have is fine - black pleather that is functional but not very exciting.  Boston Daughter has a cover like this for her Kindle  Fire - it looks like an old book. (Being her mother's daughter, she scrubbed it up a bit to tone down the gold and ramp up the vintage).  I decided to find an old book and make my own cover.


It took some time to find a book that would work.  First problem was size - the iPad is not a common book size, plus I didn't want one with too many pages as the iPad is pretty thin.  Then came the aesthetics - I needed a hard cover book with an interesting cover.  That leaves out most new books that have great paper covers, but the actual book covers are just plain.
 
I found just the thing at a great used book store in Maine.  This is not your usual musty-dusty place - the proprietor told me every page of every book is wiped down with a special solution before it goes on the shelf .  There were old - really old books here,  books fro collectors with prices for collectors.


 Boston Daughter in the stacks.  She's standing in front of several thousand dollars worth of very old books.
 
 
I found this beauty for $20.00   Size - perfect.  Cover art- perfect - score!
 
 WARNING !!  If you're the kind of person who thinks it's sacrilegious to cut up books, you should probably stop reading here because the next picture will send you into a tailspin.
 
 
Started by carefully cutting out the book pages by cutting  along the spine - being careful not to cut through it.  See?  Nothing bad happened - no fire, no smoting, just the book guts separated from the covers.
 
 
I cut a piece of cardboard the size of the back cover and glued some mulberry paper over it.  Then glued down some black elastic to hold the iPad in place.  Then I added a small loop of elastic that will become part of the closure and glued the whole  thing onto the inside back cover.  I used E6000 to glue this down - any really strong glue should work.  This is what holds the iPad in the book, so no wimpy glue for this step.
 
 
 The Captain drilled a small hole in the front cover for the button closure.  This fuzzy picture is a side view - I threaded some embroidery floss through the button holes, then tied a knot under the button to lift it off the cover a bit, pulled the threads through the drilled hole and glued them down to the inside of the front cover.

 
The inside of the front cover was blank, so I had already glued down a small opened file folder to add  interest.
 
 
I glued a decorated envelope over the file folder and threads .  This covers and secures the button threads and gives me a spot to stash papers.
 
 
This shows how the elastic cord holds the tablet in place.


Love my new cover!
 

Thursday, January 10, 2013

2013 DIY Calendar Pages

Here are a few more of my calendar pages.  I've been making calendars for family and friends for years.  I started out with pretty simple stamping techniques and it's fun to look back and see how my style has changed over time. One thing's for sure - I'm much more adventurous.   This year I played more with backgrounds and collage techniques and used stamping more as part of the background and less as the main event.  I'm having fun playing with bits of paper and composition this year.


I used pieces of blue and green scraps for this page with a bird stamped and cut out of grunge paper.  I love how grunge paper just soaks up color.  


This page started with one of those artist papers in The Somerset Studio magazines.  I added some scraps, a strip of Tim Holtz tape and the stamped bird. 
 
 
The Pink Page was inspired by Randel Plowman's book, The Collage Workbook.  I love this book - full of ideas to jump-start the process and technical help without overwhelming detail for those of us with limited attention spans.  As a bonus, there are great images you can use in your own work.
 
One of the book's ideas is to make a collage using only one color.  Pink isn't one of my go-to colors, but while you're stretching yourself, might as well go all out! Once the scraps were glued down, I washed  diluted white acrylic paint over the pages to and then splattered  dark pink ink over them.  Added some bottle-cap circles stamped with white acrylic paint and the flower image cut out of  a gadening book.


I'm not a fan of winter, so this is my "Hopeful" page for spring.  I glued bits of paper around the border of a painted and stamped page, then washed over them with some diluted green acrylic paint.  I swiped the edges with a white paint dauber to make a border.  I stamped the tulip onto tissue paper, colored it with pencils and then glued it to the background.
 
Happy 2013!
 
(I'm not sure what's going on with Blogger and highlighting random words that link to annoying ads!   I've tried going back and retyping them, but can't remove all the links.The only link I added was to the collage book.    If anyone knows how to stop this "feature", please let me know.  I'll be checking in with Blogger again !)
 
** PSA Update - According to Blogger help, these pesky links are the work of nasty add ons.  They suggested disabling any suspicious add ons by opening Internet Explorer, click on tools, click manage add - ons, select see-all and then disable any that look suspicious.  I only had two that looked suspicious and both were for links that had shown up in my posts.  I didn't (and don't recommend) disabling anything with recognizable site names - like Microsoft, Adobe, etc.).  Hope this fixes this annoying intrusion into my posting.

Friday, January 4, 2013

Bookstore Cafe Love


A new year and a new favorite bookstore cafe- life is good! We celebrated   New Year at  The Book & Bar in Portsmouth.   It's our kind of spot - lots of good books in a beautiful space , plus a cafe with good noshes and drinks. 

The owners' plan was for a European- style literary salon, with good books and fine wine.  There is an eclectic selection of books, with an emphasis on art and literature.  Mixed in are some great children's books, cookbooks - the same categories found in any bookstore, but with books most don't carry.

 
Beautiful setting - high ceilings, big windows, vintage-style light fixtures.


Coffee art
 
Turns out the owners previously owned another of our favorite bookstore cafes - The Montague Bookmill.  The LA Times rated the Montague Bookmill as "perhaps the world's finest bookstore cafe".  The Bookmill's slogan (see t-shirt below) , "Books you don't need in a place you can't find" is right on - it's in a "you can't get there from here" location!  But once you find it, you'll fall in love - old mill on a river with some of the industrial gizmos as part of the decor,  lots of little reading nooks overlooking the river and a great cafe space.  And books- mostly used, mostly the kind you don't find in big box stores.


We'll be cheating on Barnes and Noble with our new bookstore cafe love.

Normal Title Italic

Follow Me on Pinterest

LinkWithin

Related Posts Plugin for WordPress, Blogger...
 
SITE DESIGN BY DESIGNER BLOGS