

I picked up another idea from The Documented Life Project - making painted circles. Mary, over at Me, With My Head in the Clouds developed this technique of making freehand circles with acrylic paint. She even posted a step-by-step tutorial, so I'm not going to go into all the details as her tut is clear and already done!
Suffice it to say, this technique is fun and addictive. I seem to be in a playing phase, not an actual competing a real project phase. On the plus side, I now have all kinds of stuff to add to those real projects - one of these days.
The basic technique is done by hand - dip your finger in acrylic paint and paint a small circle with one color. This will be the center of your finished circle. Then paint other colors around your center circle - going half way or a quarter of the way around with each new color. Add white highlights, again with your finger. I used a small brush on some of the white highlights so I wouldn't get a big blob- I either have fat fingers or limited fingerprinting skills or both! Then use a bottle top to stamp a black circle around your painted circle. I love the double circle stamp I found on my desk- it's the round doohickey from an empty roll of tape. Don't worry about precise circles - the look should be loose and grungy. I stamp two or three rings before adding more paint to my stamp so some are dark, some lighter. Then flick on some of that black acrylic paint - I use an old toothbrush loaded with slightly watered down (just a little water - you don't want it too runny). Be sure to cover/protect the stuff on your table- I stand an old spiral bound book behind the pages I'm spritzing to contain the splatter.
It's fun to experiment with colors. After several pages of these, I found I like the lighter colored ones best, but that's just me.
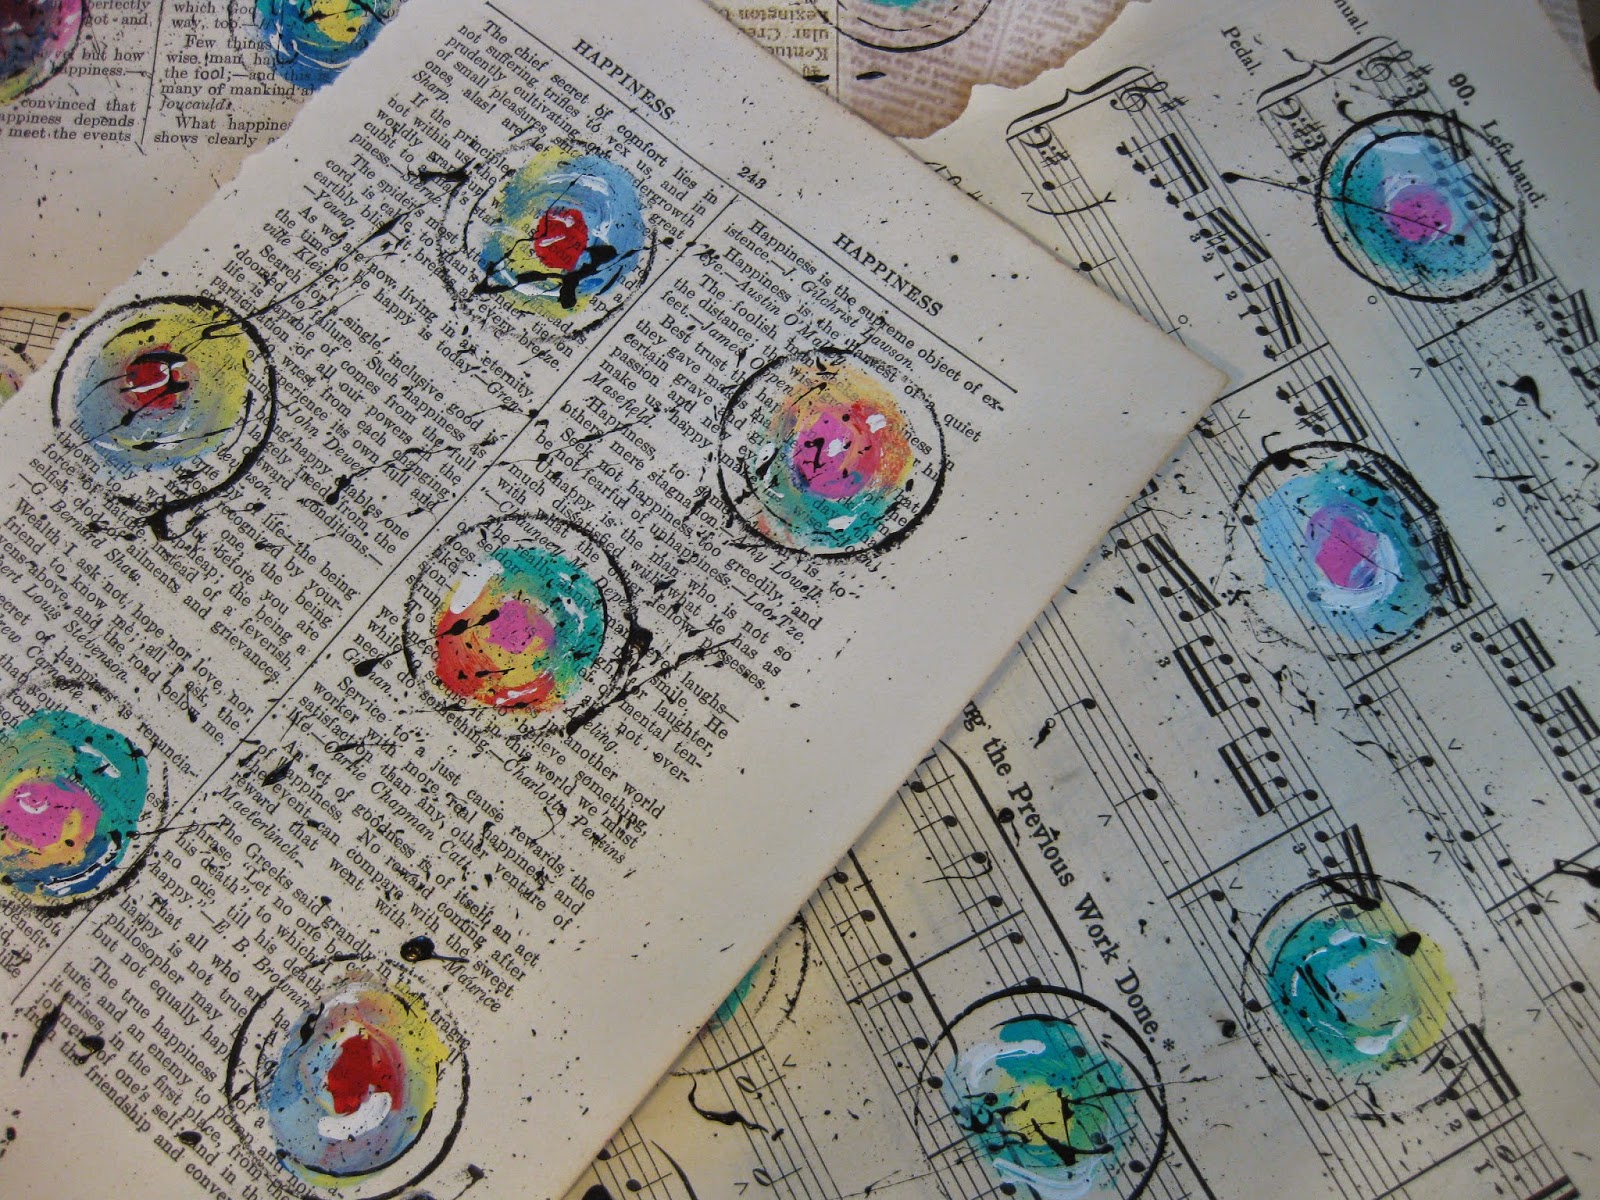

You could make these on any paper, but the text or sheet music peeking out is half the fun.
Here are some made on pages from an old book with seriously yellowed pages.

I made these with water-soluble crayons. I felt like I had more control and could make the circles smaller. Same technique - keep adding colors around the center color - half-way, quarter way around so you don't just get rings of distinct, different colors. Once the circles were done, I blended them with a water brush.. I stamped the rings with Distress Inks and used white paint for the splatters to mix things up a bit. (You can see where I tried adding petals to a few - not a success.)

This is great messy paint fun !


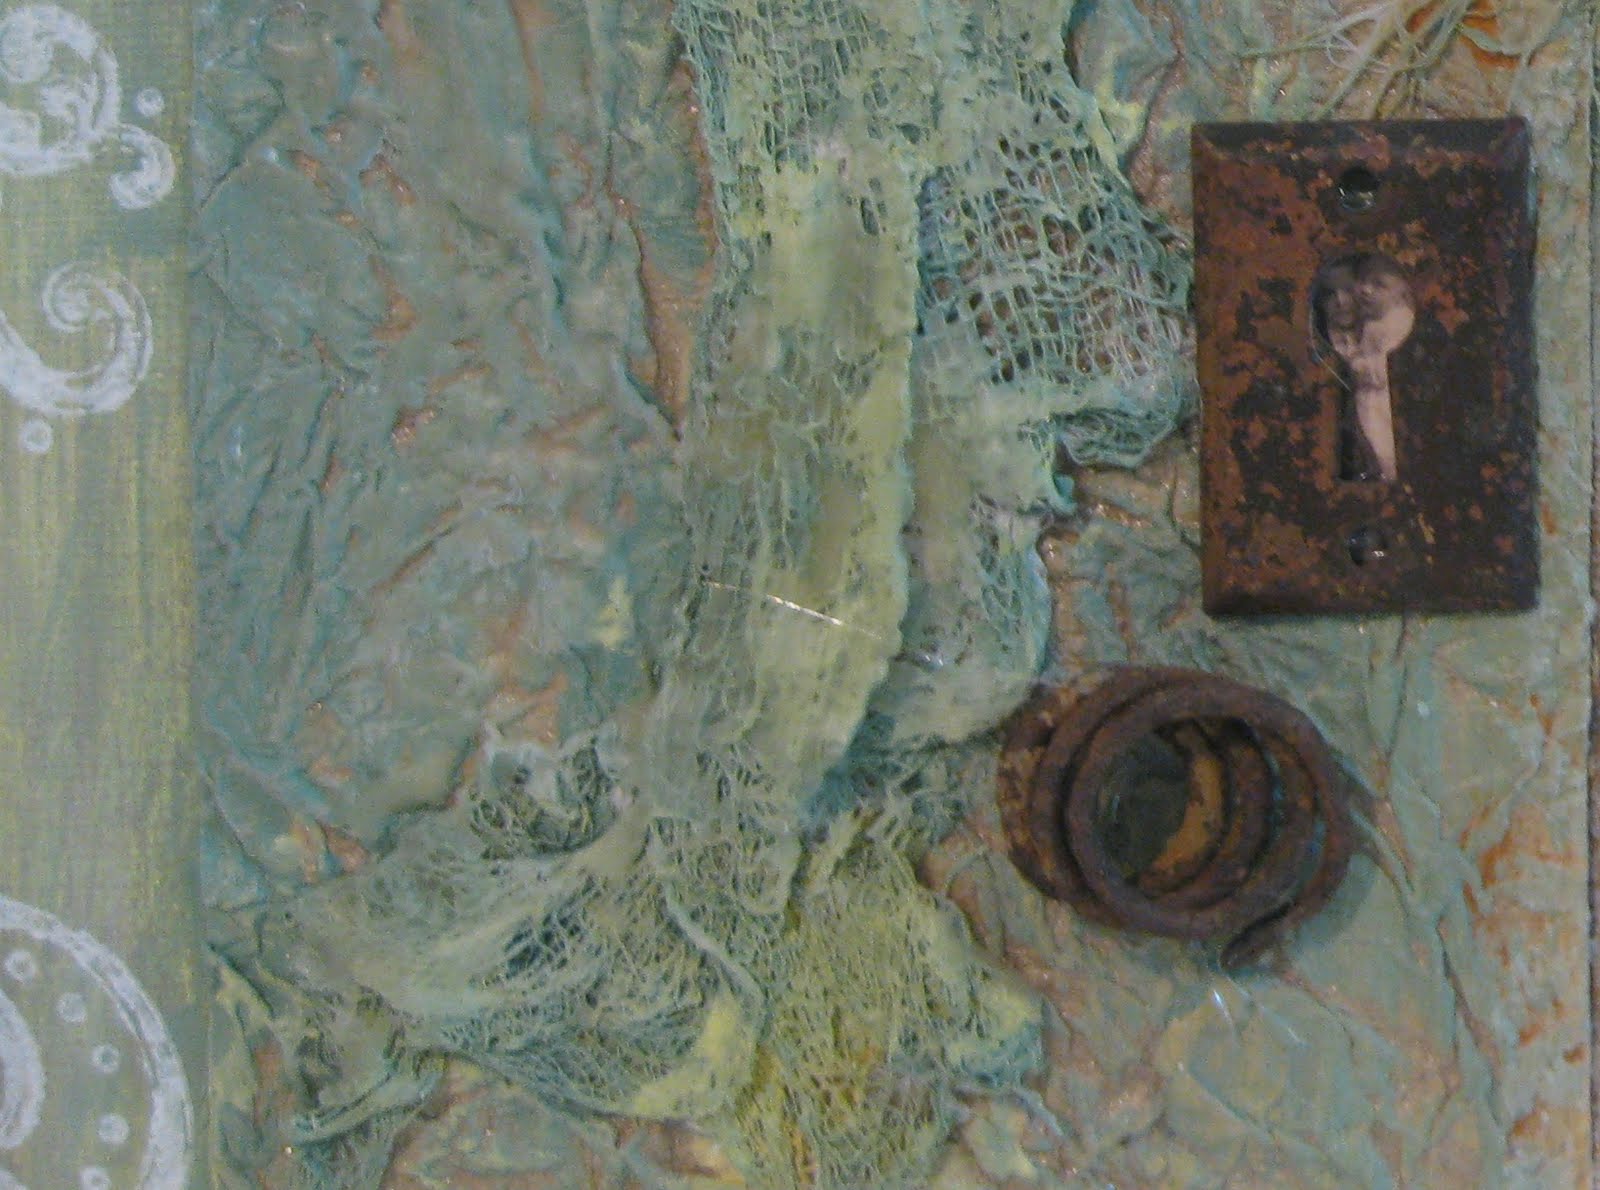

 This is a glimpse of another section - the round gold piece has been looking for a home for quite some time. I stamped a few flourishes with white acrylic paint onto the corners. It seemed that this spot needed something more, so I staple-pleated a short piece of ribbon and glued it on.


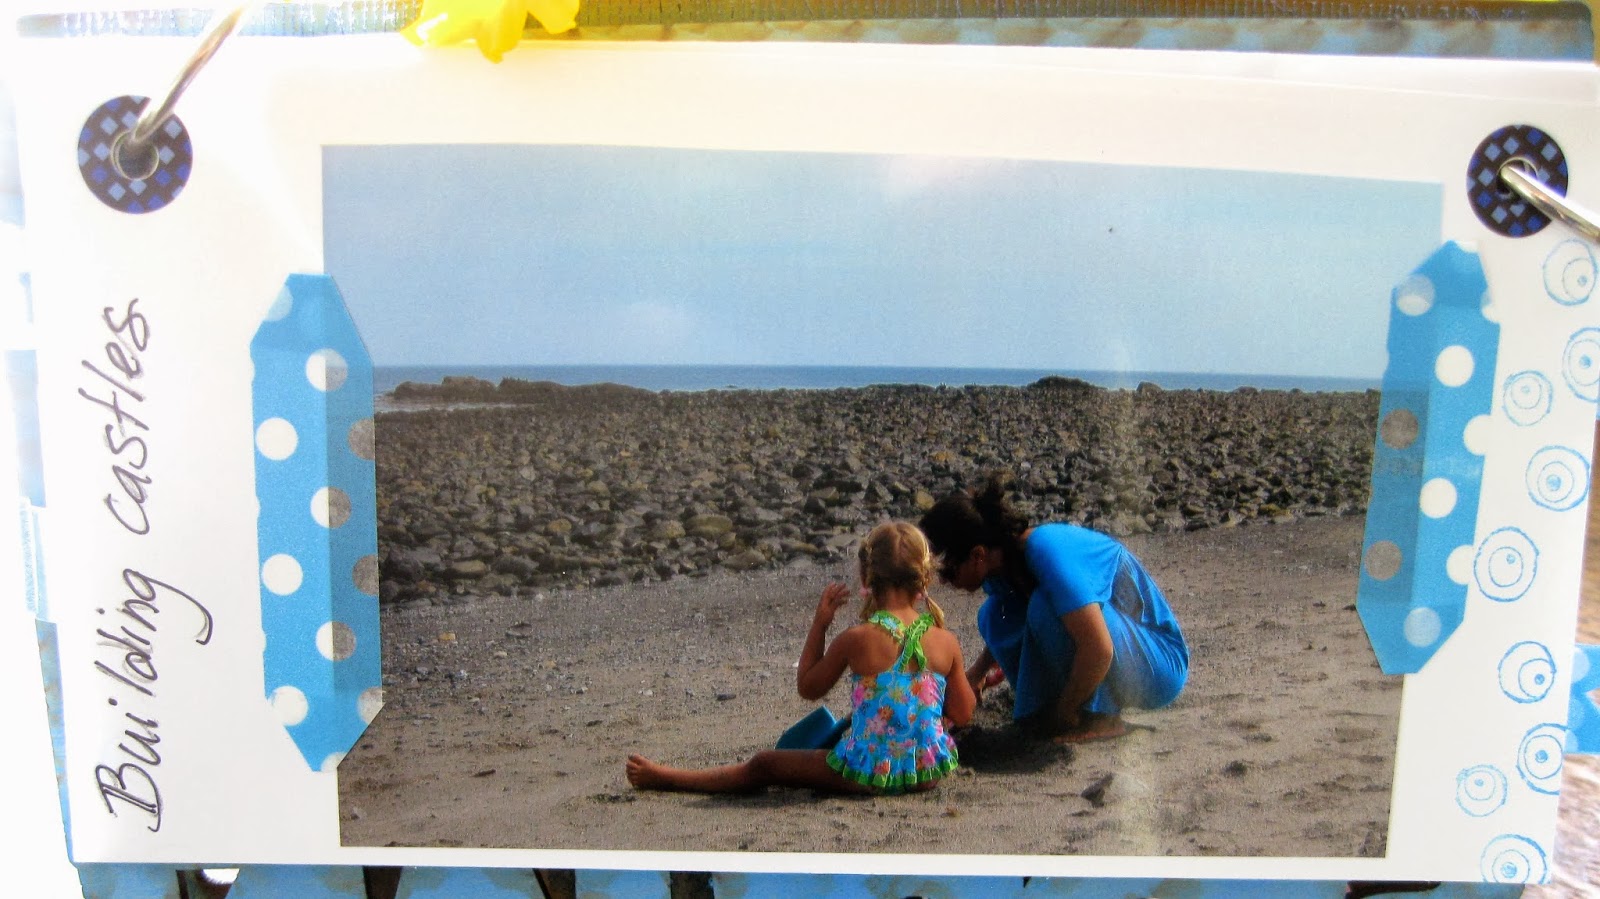
 Then, back to more complicated tags. I love this acrylic paint resist technique. I used a white paint dauber on the swirl stamp, then some text, Distress inks and a swirl or two. The large tags were a learning experience - in my enthusiasm I got ink all over the backs of the tags - grrrr! Think I may glue them back to back and hang them from something. Lesson learned - the backs of the small tags are pristine!


